Managing compute resources > Managing volumes > Managing volume snapshots
Managing volume snapshots
You can save the current state of a VM file system or user data by creating a snapshot of a volume. A snapshot of a boot volume may be useful, for example, before updating VM software. If anything goes wrong, you will be able to revert the VM to a working state at any time. A snapshot of a data volume can be used for backing up user data and testing purposes.
When a snapshot is created, the current read-write file of a volume becomes a read-only backing file (the snapshot), and a new overlay file is created. All changes to the volume are written to this overlay file, preserving the original data in the snapshot. The more changes made after the snapshot, the larger the overlay file becomes. When the snapshot is deleted, the data that was written after the snapshot is merged back with the original data, making the changes permanent, and then the overlay file is removed.
Limitations
- A volume supports a maximum of 32 snapshots.
Prerequisites
- To create a consistent snapshot of a running VM’s volume, the guest tools must be installed in the VM, as described in Installing guest tools. The QEMU guest agent included in the guest tools image automatically quiesces the filesystem during snapshotting.
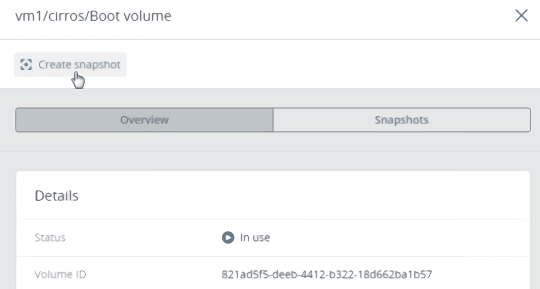
To create a snapshot of a volume
- On the Volumes screen, click a volume.
- In the volume right pane, switch to Snapshots, and then click Create snapshot.
To manage a volume snapshot
Select a volume and open the Snapshots tab on its right pane.
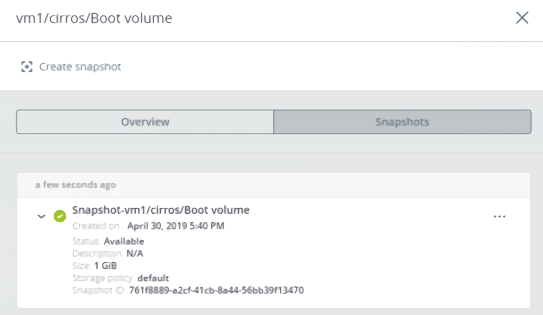
You can do the following:
- Create a new volume from the snapshot.
- Create a template from the snapshot.
- Discard all changes that have been made to the volume since the snapshot was taken. This action is available only for VMs with the “Shut down” and “Shelved offloaded” statuses.
- Change the snapshot name and description.
- Reset the snapshot stuck in an “Error” state or transitional state to the “Available” state.
- Remove the snapshot.